Introduction
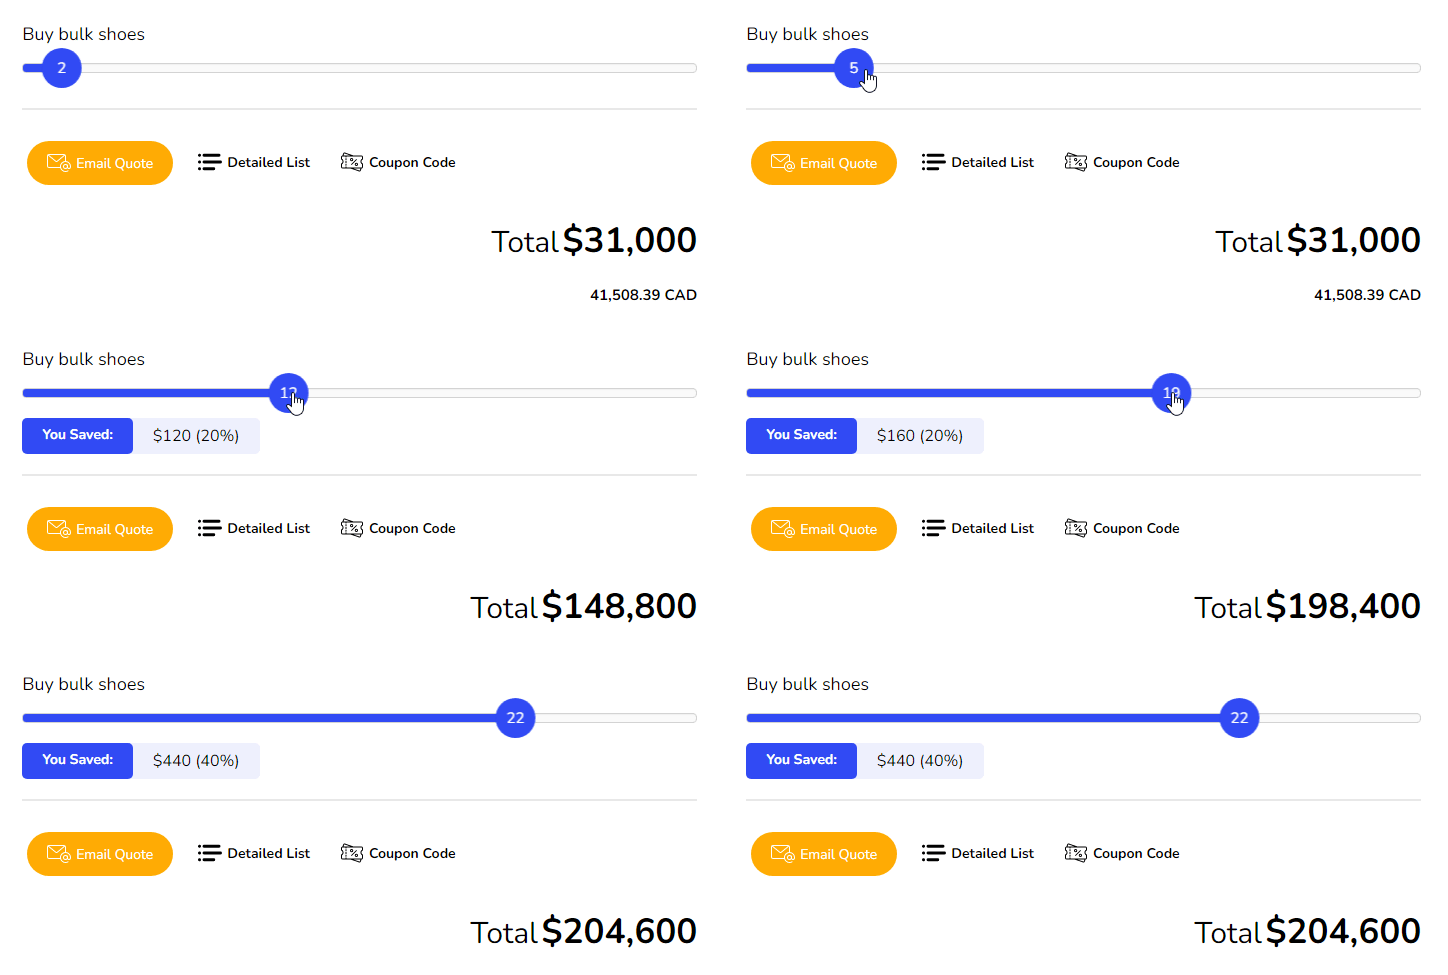
This powerful feature calculates the difference between the highest price range and the user's applicable range, showcasing the total amount saved. By displaying these savings prominently, you can encourage users to purchase more items and build a positive shopping experience.
In this help desk article, we will walk you through the steps to enable and customize the Show Volume Discount Savings feature, ensuring you make the most of this dynamic tool.
Benefits, Features & Use Cases
- Encourages Bulk Purchases: Shows savings upfront, motivating more significant buys.
- Enhances Transparency: Customers see exactly how much they're saving, building trust.
- Boosts Customer Satisfaction: Shoppers feel they're getting a great deal, improving their overall experience.
Use cases
- E-commerce Retail: Particularly beneficial for businesses selling products where bulk purchases are common.
- Subscription Services: Can be used to show savings on longer subscription terms versus monthly payments.
- B2B Sales: Enables businesses buying in bulk to easily see the financial benefits of larger orders.
Live Demonstration
Frontend Result

Backend Settings
How to Activate & Use This Feature
Setup
1. Set Up Bulk Discount Rules: Configure your bulk discount rules. For detailed instructions on setting up this option, please refer to this post.
2. Enable Cost Savings: In "Advance Options", enable the "Show cost Savings" option.

Settings
1. Savings Display Format: Customize the savings display by choosing to show the amount saved ($), the percentage saved (%), or both.

2. Select Savings Design Theme: Pick the desired design style to showcase the savings message effectively.

Related Help Desk Articles
Was this article helpful?
That’s Great!
Thank you for your feedback
Sorry! We couldn't be helpful
Thank you for your feedback
Feedback sent
We appreciate your effort and will try to fix the article


